
Ready for another Just Add Ink Challenge? This week Karren has suggested to Just Add Stencils!

I had heaps of ideas for this challenge but decided to make my own stencil to use to colour some glossy cardstock. I love that you can make your own patterns and designs to make a truly original card.
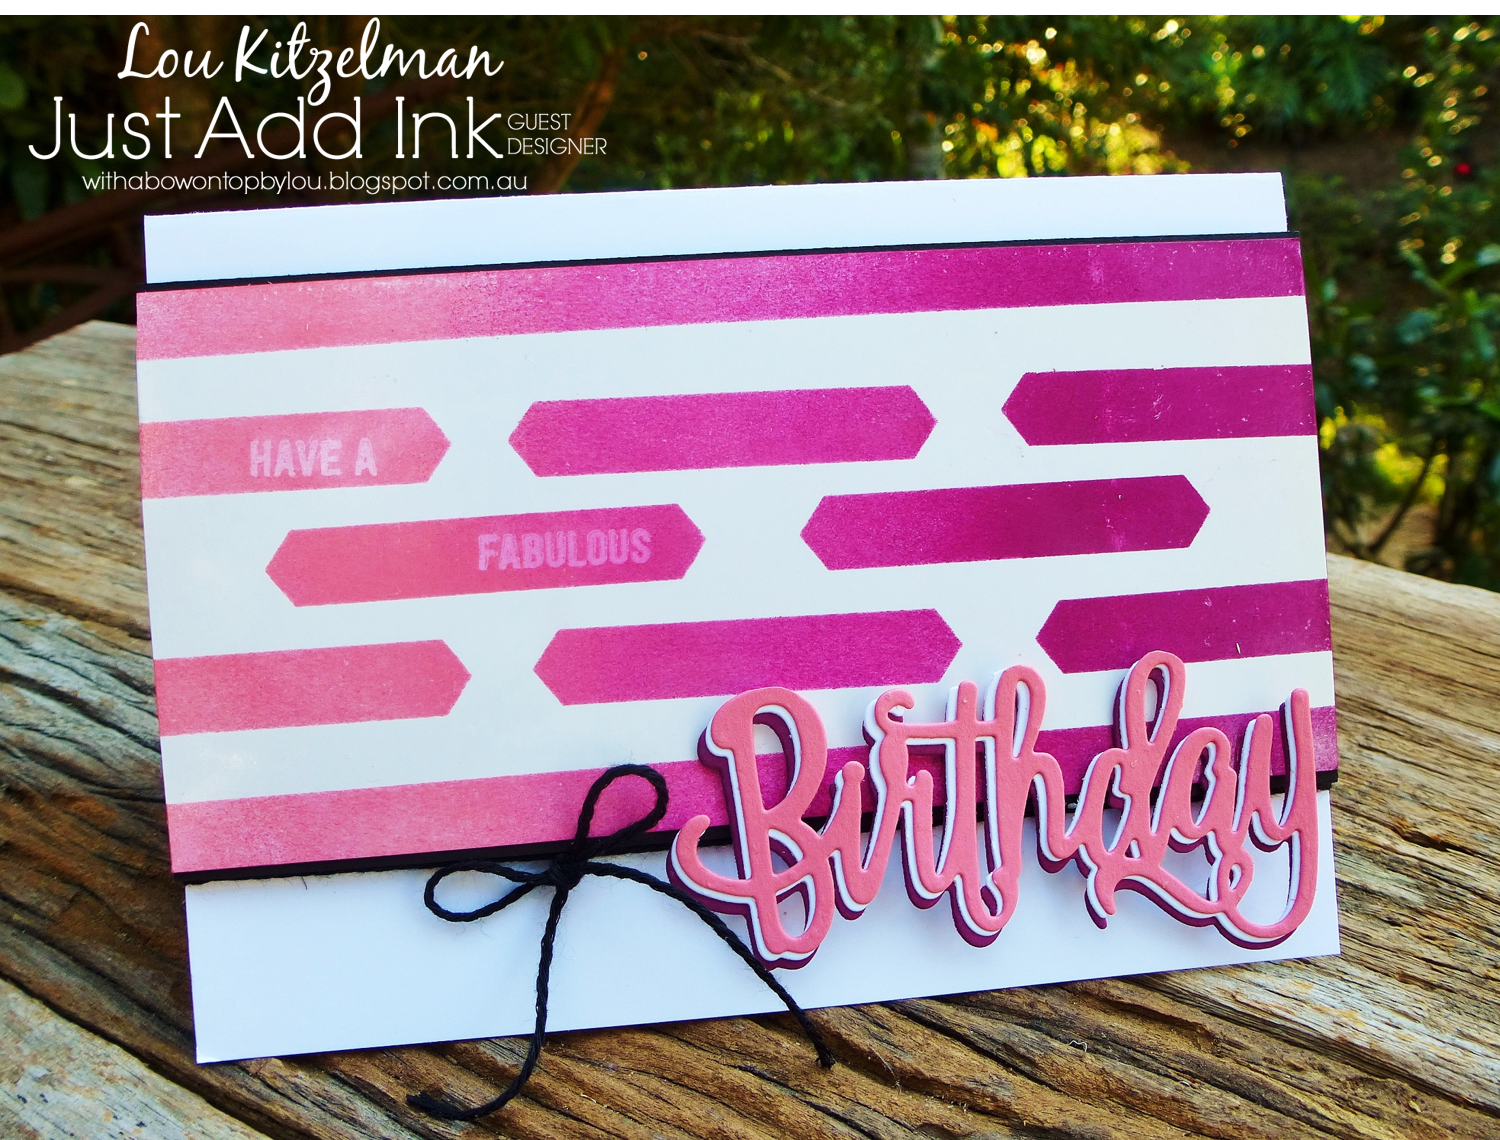
This technique is incredibly easy and versatile. I used copy paper for my stencil. It is thinner than cardstock so you get a crisper line when you add the colour. I used the classic label punch to create the pattern, added a few bits of repositionable tape to the back and stuck it onto my glossy cardstock. I cut the glossy cardstock a bit wider than the stencil so I got a border. Before I added the colour, I stamped a few words in Versamark. This technique is called ghosting. Then I used sponge brayers to blend Flirty Flamingo, Berry Burst and Rich Razzleberry inks. Roll lightly in the direction of the stencil and the colour slowly builds up.

Then carefully remove the stencil and create your card. The stencil is quite pretty now that it is coloured too. I wonder what I can create with that?

The Thoughtful Banners stamp set has lots of little words and phrases that you could use to create a card for a different occasion.

I cut 'birthday' 3 times in the different colours using the Happy Birthday thinlit. When I adhered them together I slightly offset each one to get a shadow effect. I raised my coloured panel with foam adhesive strips. The bottom of each letter is raised with a tiny bit of foam adhesive strip and the top of each letter has a glue dot underneath to secure it.

I added my practice strip to the inside of the card for a bit of fun.

Making your own stencils is heaps of fun. Next I am going to try circles and add some little ghosted images inside. Stay tuned!

Lou
Product List


Lou, I love that you photograph the whole process & show your followers how to re-create the gorgeous cards you make. Very clever to make your own stencil & I really love the graduation of pink hues....so eye catching. Fabulous! x
ReplyDeleteWow, this is such a beautiful and striking birthday card Lou! I love your ombré colouring over your stencil and the off set layers of birthday are such a lovely highlight too! xx
ReplyDeleteGorgeous card, Lou! I love that you made your own stencil, a stunning and unique background. I adore the ombré pinks, the ghosted sentiments and the layered Birthday.
ReplyDeleteYour self-made stencil is fabulous and you used it to make a gorgeous card!
ReplyDeleteSuch a clever chick, this is totally awesome Lou! Your colours are so vibrant and l love the design too! xx
ReplyDeleteI've never heard of ghosting, but what a cool effect! Love it!
ReplyDeleteWow Lou, that's such a clever way to make the background. And I love the idea of laying multiple thinlits in different colours. I'll really have to give that a try. Gorgeous card xxx
ReplyDeleteThis is very cool, you're very clever! Love how you've made your own stencil and especially love your ombré colours!
ReplyDeleteA stunning card, as always Lou. Very clever to slightly offset your diecut layers xx
ReplyDeleteWhat fabulous pink pink pink card Lou. I can see many a girl loving this! Loved the walk through your process too! x
ReplyDelete