
Have you tried the Decorative Masks from Stampin' Up! yet? I have had them for a while and haven't used them until recently. I ordered them because I had seen so many great projects done with them but of course I have too many products and not enough time! Over the last week I have been exploring several techniques using them for an upcoming class that I am holding. I will post a 4 part blog series on these techniques for you over the coming weeks.
This is what the decorative masks look like. There are 3 different sets - I will be showing you these 2.
 |
| Dots & Stripes |
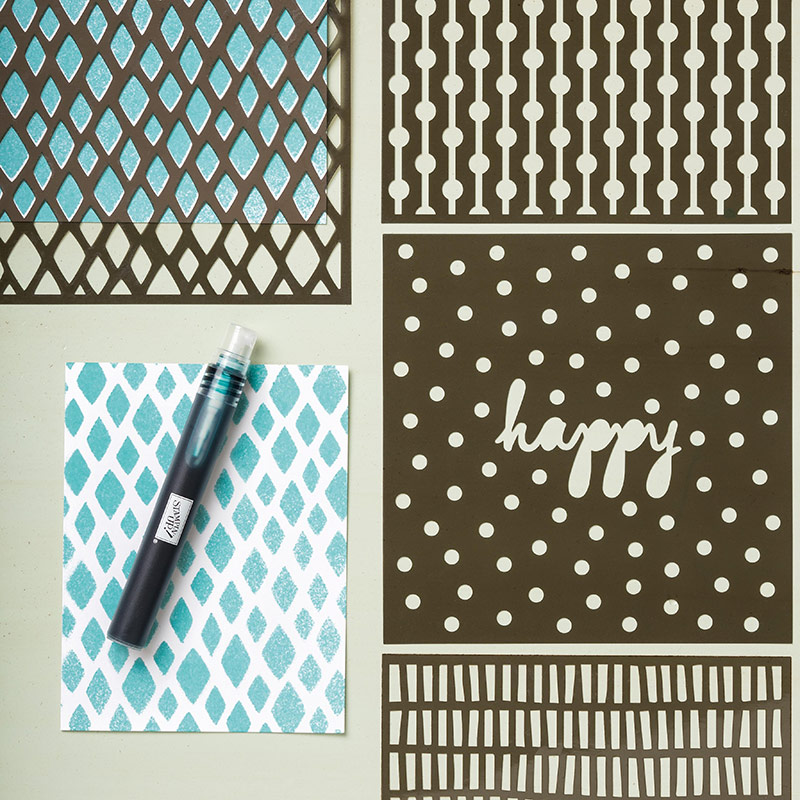 |
| Happy Patterns
|
The first technique that I started with was sponging - thought I'd ease in with an easy technique! It's as easy as placing the decorative mask over the cardstock, dabbing your ink pad with a sponge or dauber and tapping the ink onto the cardstock. Once you start you'll just keep grabbing cardstock and sponging it!
For this first example I placed the stripe mask on an angle and only partially sponged. One thing I did learn was to clean my mask after each use. Can you see the darker lines on the outside of the Mint Macaroon stripe? I like the effect of the Rich Razzleberry that was left on the mask from the previous sponging - luckily! Partial sponging gives a great background for die cuts and allows you to quickly create an interesting card.

You can also move the stencils around. For the "bubbles" on this next card I just used the one circle from the dots mask and moved it around. I used a dauber and I tried to ink the left side darker and fade out towards the right to give the effect of dimension.

Did you know that the Elegant Dots Textured Embossing Folder coordintates with the dot and line mask? I was looking through the current annual Stampin' Up! catalogue and got the idea from page 19. I think that it gives great definition. I like to sponge first and emboss second. It makes lining up the embossing folder much easier. If you decide to used the reverse side of the embossing you'll need to reverse the order.


I hope that this inspires you to have a go with these decorative masks. Part 2 will be about Spritzing.
Comments
Post a Comment
Thanks for stopping by. I love to hear from you so please leave a comment.
In line with new Data Protection legislation (GDPR) by commenting you do so in the knowledge that your name & comment are visible to all who visit this blog and thereby consent to the use of that personal information for that specific purpose.