


Welcome back to another ESAD blog hop. Whether you are starting with me or have hopped over from visiting Tanya DeRoy, you are in for a real treat as we all show you some of our favourite products from the 2016 Stampin' Up! Holiday Catalogue.
I'm at that stage where I am starting to panic about all I have to do for Christmas and the lack of time I seem to have. I'm sure I'm not alone! So I'm culling non-essentials from my list! Who needs a cake for Christmas anyway??? One thing I don't want to cut from my list is those special cards I want to make for really special people. So I got to thinking about a simple design that might look like I took a lot of time to make but is actually quick and easy. (If you receive one of these cards from me yours did take a long time to make though!). So here is what I came up with - a simple hybrid of many box and tea light cards I've made before. I've called it a Tea Light Box card.

I knew that the Greetings from Santa bundle would be perfect for this card - with a few other favourites from the catalogue thrown in. It folds flat to fit into an envelope (and to store until next year).

And then stands up to really put on a show with a battery operated tea light candle inside.

You can add vellum if you like a more opaque look but for this card I have used some Fabulous Foil Designer Acetate behind Santa's beard to give a bit of shine and sparkle.


I've added a belly band for a bit of extra detail.

It simply slides off so you can open the box up.

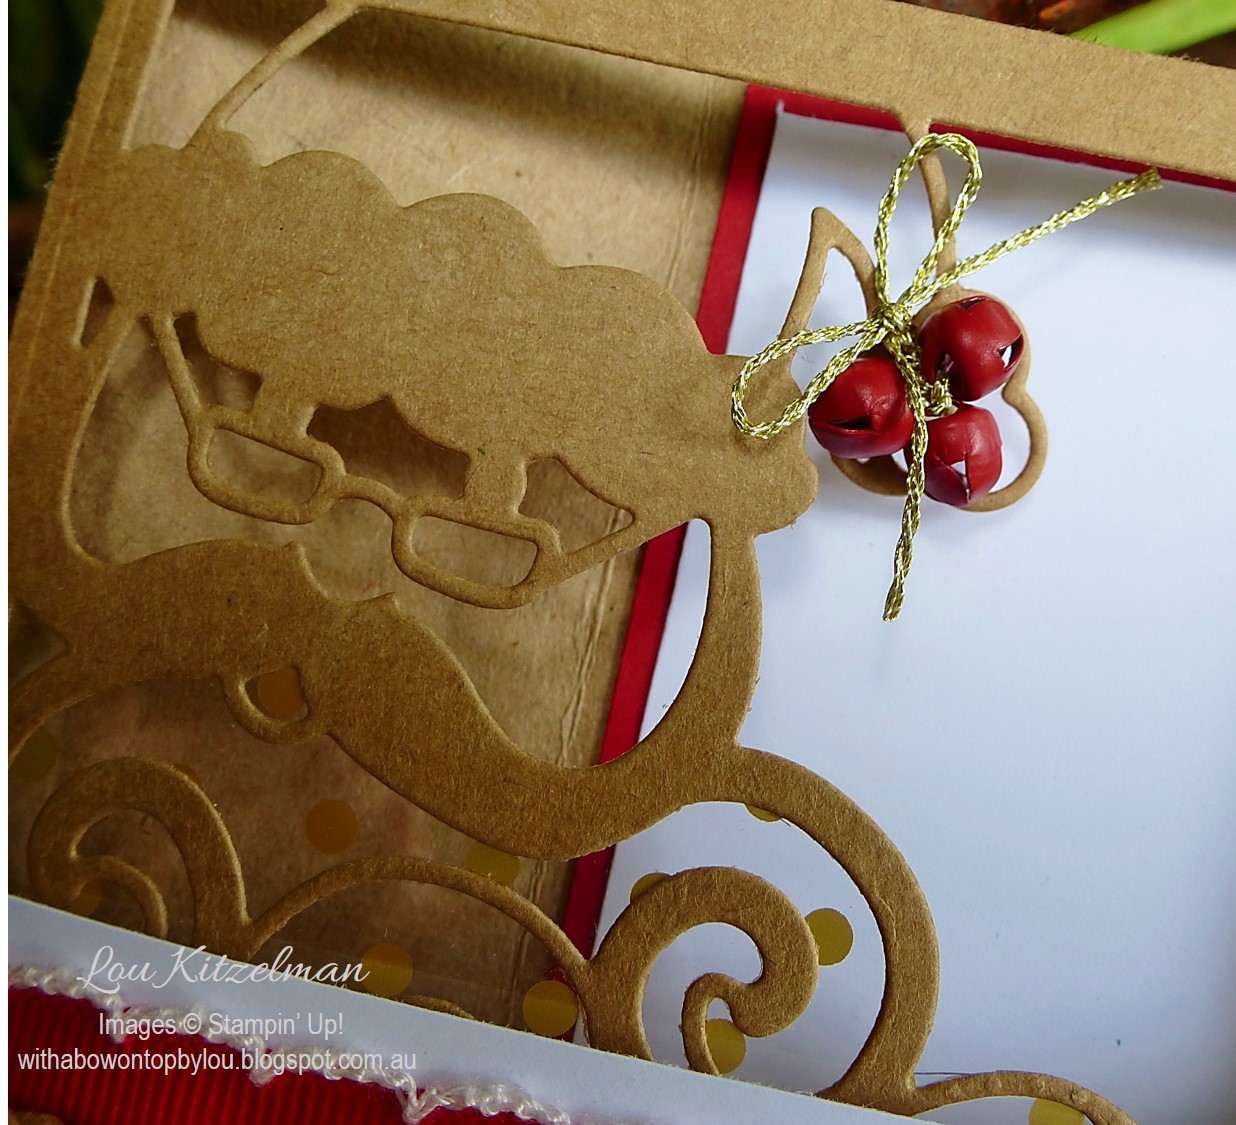
Add some Real Red stitched edge ribbon and Kraft rope trim............

.....and some Mini Jingle Bells tied off with gold baker's twine (all from the Holiday Catalogue of course) and you have the perfect finishing touches.
The back panel has plenty of space to write your message. I love the border thinlits from this set. They add great detail - just a pop of Real Red showing through onto the Whisper White.

This is the template I made for the card. It has the instructions on it as well. I always make up a template for card folds and it is amazing how often I refer back to them. When you score, fold and stand it up it all makes sense and helps with the placement of the different panels.
 |
| Front of template. |
 |
| Back of template. |
Now make sure you check out everyone in our hop and show us some love by leaving some comments. We all love to hear what you think. Next stop on the hop is my talented and gorgeous friend Kelly Kent. (PS No payment has been received for compliments!)........Yet!
Lou

BLOG HOP PARTICIPANTS:
1. Lou Kitzelman - That's me!
2. Kelly Kent
3. Chloe Evans
4. Jackie Noble
5. Josie Dean
6. Libby Dyson
7. Rebekah Crisp
8. Rebecca Jacovou
9. Andrea Buckland
10. Leonie Schroder
11. Delys Cram
12. Rose Desmond
13. Cathy Pinchbeck
14. Peta Stephen
15. Monique Fielder
16. Narelle Fasulo
17. Nerida Carter
18. Courtenay Heuston
19. Megan Lenske
20. Carly Middleton
21. Nicole Wilson

Product List

 Stitched Edge Ribbon")


Wow! Amazing project Lou, love it! x
ReplyDeleteLove the Fabulous Foil Acetate on Santa's beard. Thank you for sharing.
ReplyDeleteWow Lou, inspiration +++
ReplyDeleteBeautiful. Thanks for the instructions.
ReplyDeleteWow! What an amazing creation!
ReplyDeletePretty pretty I love this Lou!
ReplyDeleteOh it's so beautiful!
ReplyDeleteOh I love what you've done with this bundle! Thank you so much for organising this blog hop - you did a fantastic job :) Really appreciate all your hard work
ReplyDeleteA great idea to make a luminary from this framelit
ReplyDeleteI love, love, love your project Lou and Marvi would definitely love the kraft rope trim
ReplyDeleteOh my such gorgeous projects with this bundle Lou. You are amazing and thanks so much for organising the blog hop
ReplyDeleteJ ADORE TROP BIEN
ReplyDeleteWhat a beautiful Project Lou! Thanks for the instructions too! What a treasure it would be to get this in the mail!
ReplyDeleteWhat a beautiful project. I love 3D objects and this is so pretty. Great job
ReplyDeleteOh my goodness, you are AMAZING, I just cannot think what else to say....xox
ReplyDeleteYour lumiere is gorgeous!
ReplyDeleteWow that is very impressive. It is beautiful. Thanks so much for sharing how you made it.
ReplyDeleteYou are such a clever lady!!! I didn't order the Santa :( I didn't know he'd make such a great project!!! Thanks for organising us all for the hop - much appreciated! Kelly x
ReplyDeleteHow Cute is this! A card that keeps on giving... Something you could put away and pull back out every year!
ReplyDeleteDo you have the instructions in inches? I love this project. Thank you for sharing
ReplyDeleteHi Denise, Thanks for taking the time to look at my blog. Australian cardstock is slightly different to that of other countries. We use A4. Cut a piece of your cardstock in half lengthways then score at 4", 5 1/2", 9 1/2" and 11". From there on you should be able to follow my instructions and work out your mat sizes. Hope this helps. Lou
DeleteJust love this guy Lou and your photography of your project is tops.
ReplyDeleteThis is stunning! Love your attention to all the little details!
ReplyDeleteA simple hybrid of many box and tea light cards I've made before. I've called it a Tea Light Box card.junk mail delivery
ReplyDelete